Create a New Security Group
📝 Note: By default, all newly created Security Groups allow all outbound IPV4 and IPV6 (enabled but not functional). By default, no inbound traffic is allowed.
- Navigate to the Horizon web interface at https://cloud.cades.ornl.gov/.
- Log in with your UCAMS credentials.
- Domain:
ornl - Username:
Your three-letter UCAMS ID - Password:
Your UCAMS password
- Domain:
- Click on the
Projecttab on the top left. - Select the
Computesub tab. - Select the
Access & Securitysub tab.
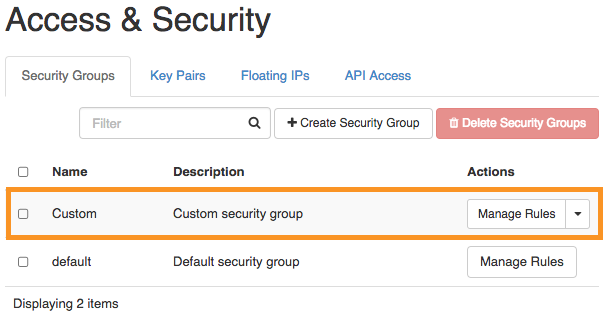
- Select the
Security Groupssub tab to view a table/list of the Security Groups. - Click
Create Security Groupat the top right of the Security Groups table.
- In the resulting dialog, fill out the
NameandDescription(optional) fields. - Click the
Create Security Groupbutton to complete the creation of the new Security Group.
Your new Security Group should now be available in the Security Groups table.
📝 Note: The Security Group must be added to the Instance to take effect. See below.
Add a Security Group to your Instance
- To add the new Security Group to your VM, navigate to
Project→Compute→Instances - Click on the drop-down (▾) menu to the right of the instance to which you would like to attach the new rule, then select
Edit security groups. - On the left side of the resulting window are all of the available security groups. On the right is a list of the security groups that are attached to your instance. Find the security group on the left that you would like to add to your instance and click (
+). - Click
Save.
Just as you can with the default Security Group, you can create and manage rules for user-created Security Groups from the Manage Rules screen.